- Renovating a Bathroom — What to Do First
- How to Renovate a Bathroom
- Finishing Your Shower Area
- How to Remodel A Small Bathroom or Half-Bath
- Add Paint and Tile
- Install Key Items
- Decorate and Accessorize With WG Wood Products
Remodeling your bathroom can be the perfect way to spruce up your space and increase the value of your home. By choosing the right color scheme, decor and appliances, you can easily turn the smallest room in the house into your favorite space. Before you bring out the toolbox and start hammering holes in your wall, you need a plan that will help you stay within a realistic timeline and budget. With expert advice and a simple step-by-step process, your newest DIY project can be your most successful and stylish renovation yet.
Renovating a Bathroom — What to Do First
There is much to do before jumping into a renovation. Remodeling isn’t the easiest DIY task, but with enough research and planning you can stick to a schedule and budget to get the bathroom of your dreams. Here is a complete bathroom renovation guide to help you get started:
1. Do Your Research
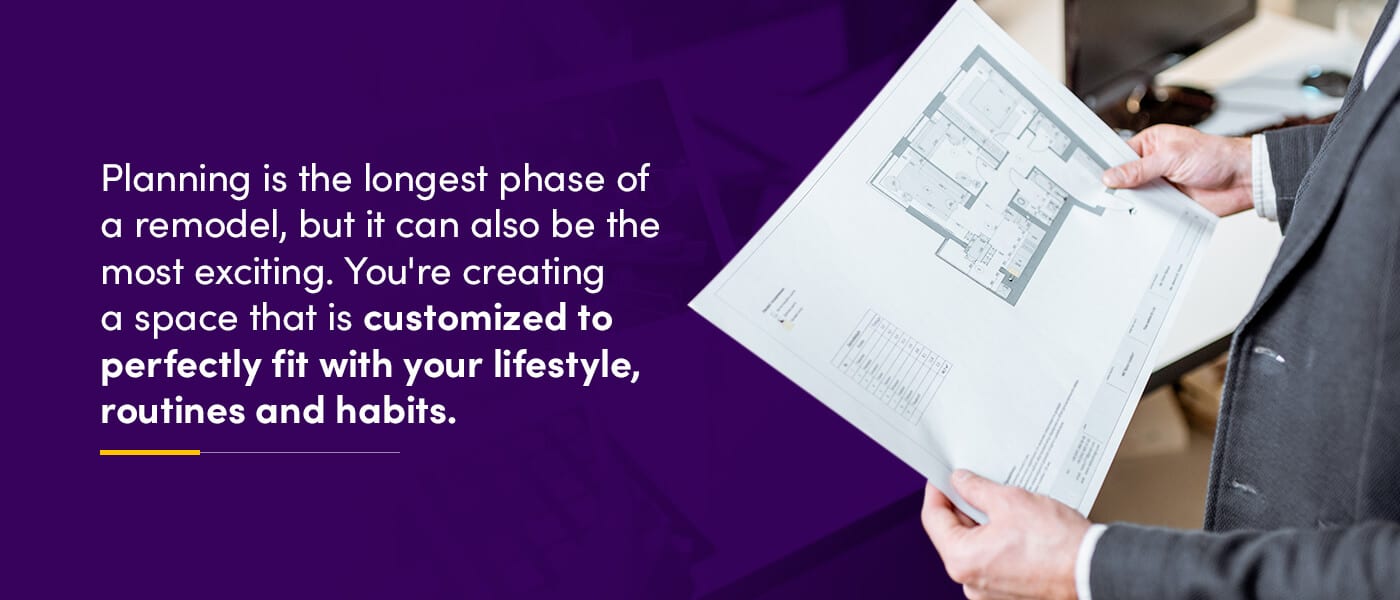
Creating your dream bathroom starts with a solid plan of action. You need to consider your budget, space and the materials you want your new bathroom to feature. Planning is the longest phase of a remodel, but it can also be the most exciting. You’re creating a space that is customized to perfectly fit with your lifestyle, routines and habits. If you love using skin care products but keep running out of space in your medicine cabinet, this is your chance to add storage and free up space with a wall niche.
The following are tips to help guide your research:
- Learn as much as you can: Whether or not you decide to hire outside help, you still need to do research on the process of renovating a bathroom. There are hundreds of videos online from other DIYers who show you the best ways to grout and how to find a stud in your wall. The more you know about the process of remodeling, the easier it will be when you start.
- Choose your materials: The possibilities for bathroom remodel ideas are endless. Making decisions starts with knowing what you can and can’t live without. If you’re set on having a marble vanity, you may have to compromise on another fixture to stay within your budget. Remember that quality comes at a cost, and it’s typically worth the investment. Using cheaper materials can result in higher costs months down the line in replacements and repairs.
- Be ready to invest time and money: How much is a bathroom remodel? Experts at HomeAdvisor found that a 40-square-foot bathroom renovation can range between $1,500 and $15,000. It depends on what you’re willing to spend, how large your space is and what appliances you want to replace. Installing a recessed medicine cabinet will be more affordable than adding a new sink. The key is to use your bathroom’s layout to your advantage, so you can save time, money and space.
2. Plan Your Space
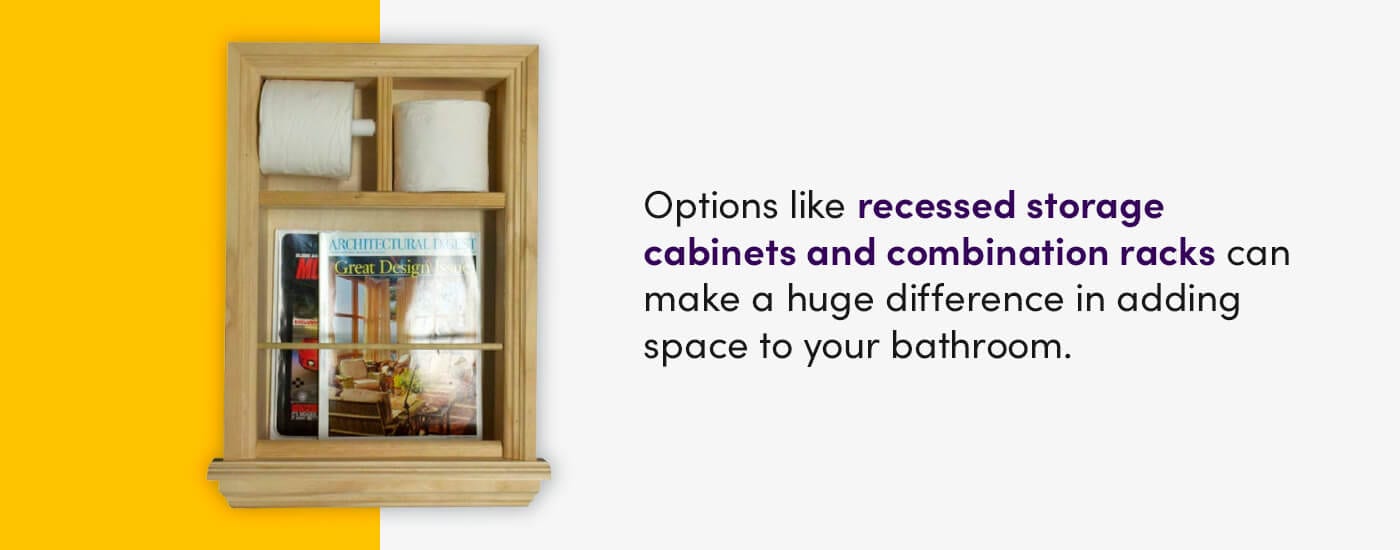
Your bathroom only gives you so much room to work with. With hair and skin care products, towels and toilet paper to store, the more storage you have, the better. When it comes to choosing new cabinets, magazine racks, paper towel holders and vanities, you want simple and efficient designs. Options like recessed storage cabinets and combination racks can make a huge difference in adding space to your bathroom. You can also design your bathroom with brighter colors and additional lights to create a more open space.
On the more technical side, you have to consider the placement of your house’s plumbing and electrical systems. If you’re remodeling your shower or lighting or adding more electrical outlets, you will need to mind the proper order for different steps. If you’re wondering about the steps in a bathroom renovation, you can reference the order of trades to make the process easy to follow and track, even if you choose not to hire outside contractors.
In a typical bathroom renovation, you’ll see:
- Demolition crew
- Carpenters
- Plumbers
- Electricians
- HVAC technicians
- Insulation contractors
- Sheetrock installers
- Tile installers
- Painters
- Shower installers
- Countertop installers
Knowing the order of renovation can help you save time and create an accurate projected timeline for completion. It also allows you to see which tasks you can confidently do yourself and which ones may require hired help or new skills.
3. Make a Budget
Creating a budget that maximizes your upgrades while eliminating unnecessary costs is absolutely possible when renovating your bathroom. The best way to determine how to set your budget is to create a checklist for a full bathroom remodel that fits with your vision.
Know Your Costs
How much are you willing to spend, and where are you willing to cut costs? If you know which upgrades are non-negotiable, you’ll be able to set the rest of your budget with the smaller details. If you’re set on having a combined storage cabinet to free up space in the room, you may have to compromise on the type of paint you want.
Consider the costs for the following elements in your design:
- Cabinets and storage: Pricing for cabinets and storage units will vary depending on the size, material and style you choose. If you’re looking to create a unique space or have a smaller bathroom to work with, you have the option of adding customized cabinets.
- Wall and floor tile: The materials you choose will be the greatest price factor. Stone, ceramic and porcelain are the most popular mediums for renovating bathrooms. Natural stone will be more difficult to work with and may require outside help when cutting and installing. You have many options to choose from at any price point.
- Sinks: One of the simplest and most effective changes you can make is adding a new sink to your bathroom. The design and model of the sink will vary in price, but drop-in sinks are the most affordable.
- Showers and tubs: Freestanding bathtubs have become increasingly popular, but they can be an expensive addition. To offset plumbing costs, you can opt for a tub or shower liner. You’ll get the renovated appearance in less time without breaking the bank.
Don’t Forget Your Tools
If you’ve completed other DIY projects, you likely already have a few tools at your disposal. However, tackling an entire room will require more than just average tools. You’ll also need:
- Goggles
- Safety mask
- Gloves
- Stud finder
- Power drill
- Chisel
- Chalk line
- Pry bar
- Spackle
- Silicone sealant
- Caulking gun
- Utility knife
- Bucket
- Hacksaw
How to Renovate a Bathroom
After all your careful planning, you can jump into action and watch your vision come to life. The demolition process is just the first step. If you plan to install new lighting fixtures or additional plumbing, you will have to plan your rough-in stage — or the period after framing when electrical, mechanical and plumbing elements are addressed — according to the bathroom renovation order of trades. If you follow these steps, you’ll be enjoying your new bathroom in no time.
1. Begin Demolition
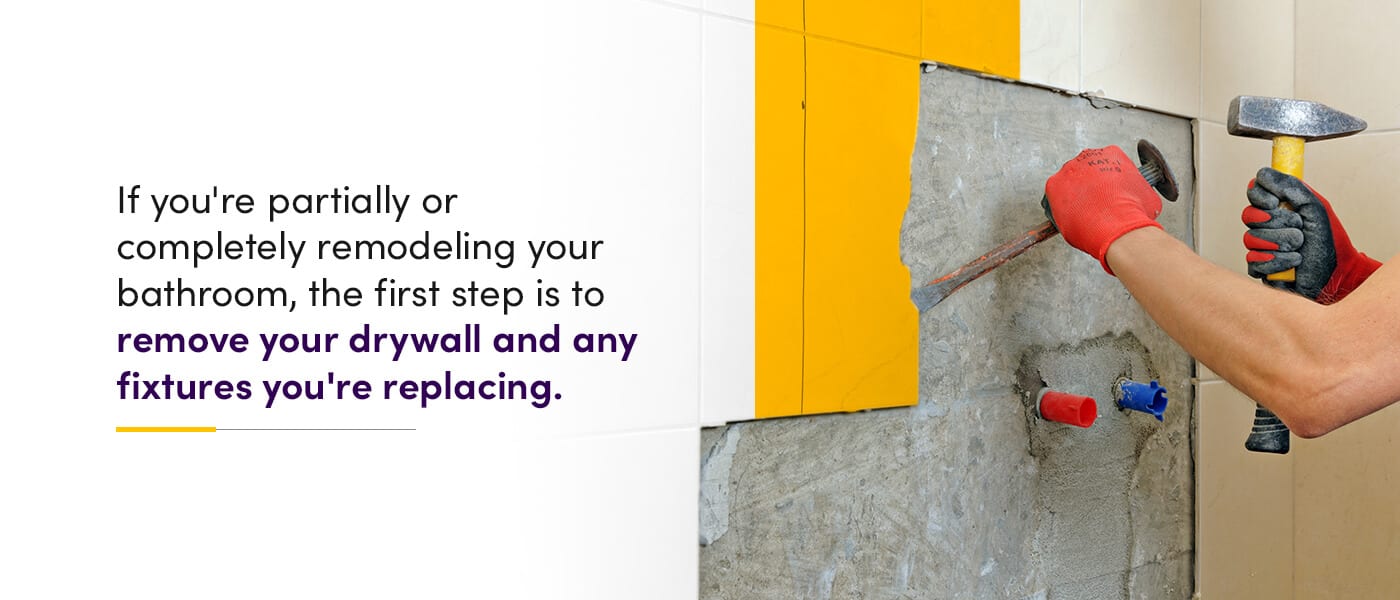
If you’re partially or completely remodeling your bathroom, the first step is to remove your drywall and any fixtures you’re replacing. Follow these tips for a smooth demolition process:
- Before you knock down any walls, turn off the water supply to the shower, sink and toilet.
- Drain your toilet before removing it. Use an extra rag to plug the waste pipe. This prevents sewer gases from coming into your home.
- Take extra precautions to prevent damage to the plumbing and electrical work.
- If you’re replacing your bathtub, cover it with a tarp first before removing the bath tile. Make sure you strip the tile down to the studs.
- Remove the insulation from your walls using a reciprocating saw to cut out the panels. Always wear goggles, gloves and a mask while doing this.
- If you’re replacing the lighting fixtures, turn off the electricity to the bathroom before removing the lights.
- Remove the vanities, mirrors, floor tiles and cabinets you want to replace.
- If you’re redoing your floors, it’s best to remove the baseboards and reinstall them at the end of the remodel. If you aren’t replacing your baseboards, be sure to label the original ones to make reinstalling them easier.
A demolition job can unveil underlying problems in your bathroom. After clearing away the debris, you’re left with the bare bones of the room. If you see signs of water damage, mold or mildew, it’s time to call a professional. Leaky plumbing can be an unforeseen cost, but correcting it may save you thousands of dollars in the future.
Getting a small dumpster for a bathroom remodels is typically recommended. Having a dumpster on-site will allow you to remove the waste and debris immediately, instead of hauling it to the nearest dump, saving you time.
2. Address Plumbing and Electrical Work
Now comes the rough-in period. This is the stage of your project when various electrical lines and plumbing lines are brought in. The lines are laid out, but the final connections won’t be added until you’re closer to completion. Any mistakes made during this stage will require renovating the space again to rectify.
The plumbing rough-in includes:
- Replacing the toilet flange.
- Installing a shower pan or tub.
- Replacing the shower controls.
- Addressing modifications to the shower or sink.
Next comes marking where your showerhead, fixtures, mixers, taps, light switches and toilet will be located so you can have a better feel of how the space will look when finished. After seeing the setup of the plumbing and electric wiring, you may need to reevaluate the design of your bathroom.
The electrical rough-in is the most opportune time to rewire your bathroom. Most bathrooms have a 15-amp lighting circuit. This can be replaced with a 20-amp ground-fault circuit interrupter (GFCI) protected circuit to accommodate your hair dryer and other plug-in appliances. You can also add more lighting to the space, so the room appears bigger and brighter. Consult with an electrician or hardware store expert to choose lighting fixtures that work best in damp environments.
If installing a new bath, the first thing you need to do is measure the space. In order to maximize your tub and shower space, you need to know the exact measurements of your new units and the space that’s available to work with. If you’re installing a built-in bath, it needs to be installed during this stage. If you’re adding a standalone bathtub, you need to wait until you have completed the tiling stage of the renovation.
3. Complete Walls
Laying your walls is one of the easiest and cheapest steps when renovating your bathroom. Follow this step-by-step process to get the job done in the least amount of time.
Finishing Your Shower Area
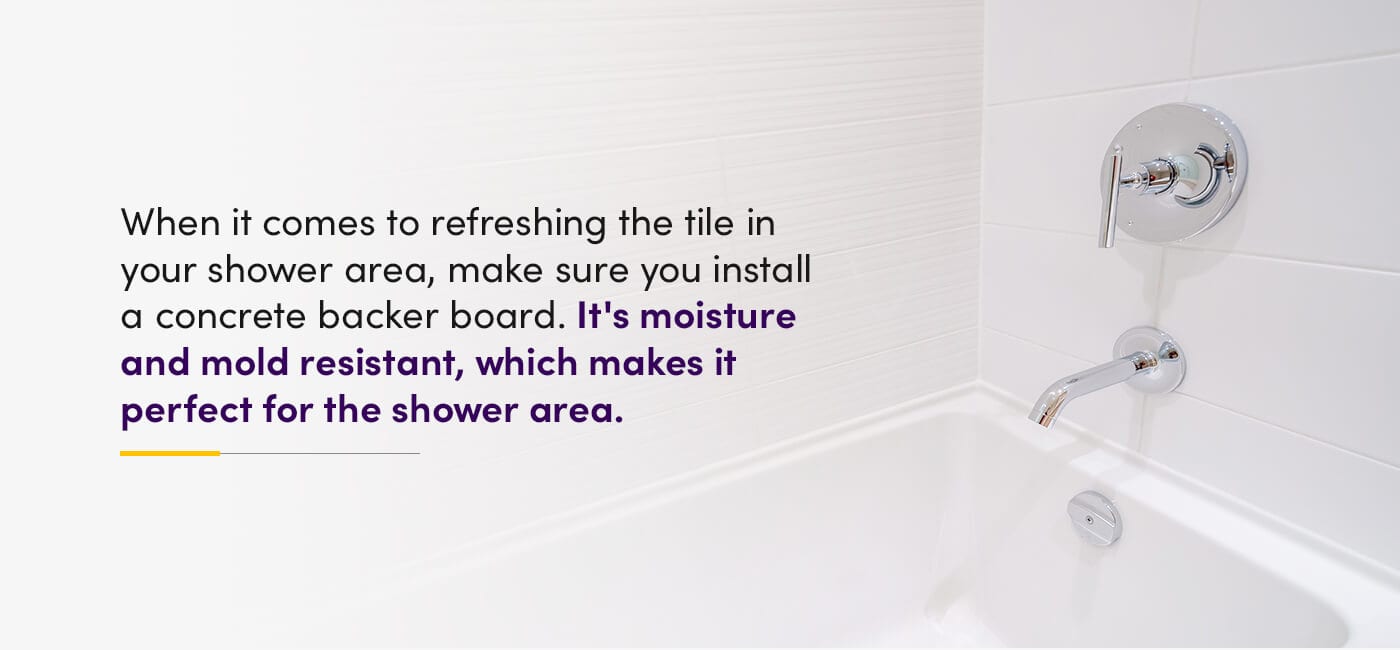
When it comes to refreshing the tile in your shower area, make sure you install a concrete backer board. It’s moisture and mold resistant, which makes it perfect for the shower area. Start by measuring the boards and cutting them to fit into the appropriate spaces. To cut the backer board, score it with a knife and then snap along the cut. Now you’re ready to secure the board to the studs with backer board screws.
When the boards are in place, use backer board drywall tape to secure the joints between the wall and board, as well as between the boards. Follow it up with a coat of thin-set mortar. The last step to complete before you tile is painting a coat of waterproof tile membrane to seal the seams and cover the exposed concrete backer board.
How to Remodel A Small Bathroom or Half-Bath
If you have finished setting up the concrete backer board in your shower area or you’re working on a smaller half-bath, it’s time to hang your drywall. Here is a quick and simple guide on how to do it:
- Fasten the wood backing where the drywall corners and ends don’t have support.
- Measure the drywall and score the paper-face with a knife.
- Snap the drywall sheet, fold it in half, then cut through the paper on the other side.
- Use a surform tool to smooth the edges and ensure tight joints.
- Lift the top wall sheet and hold it against the ceiling to accurately place it before fastening. Use nails to tack the drywall into place.
- Lever the bottom piece into place by hoisting it with a flat bar, then tack it into place with nails.
- Use a screw gun to solidify the drywall’s placement. For each slate of drywall, there should be a screw spaced every 12 inches. It helps if you angle the screws on the ends of the slate so they hold better.
4. Add Paint and Tile
It’s finally time to add color to your new bathroom. You have the chance to show off your unique personality with the tile color and pattern and the paint you use. Every bathroom is different, and the accent of the tiles and paint can create your ideal aesthetic and environment. With a calming green you’ll be transported to a relaxing spa. A sleek matte black wall can show your guests you are modern and sophisticated. The possibilities are endless.
Tiling Your Walls
You should tile your shower and tub before moving on to the other areas in your bathroom. If you’re using a horizontal tile pattern, start by placing a tile in the center along the length of the wall and do a dry-fit. If you’re using a vertical design, you need to start your pattern at the top of the wall. This way any cut pieces will be at the bottom near the bathtub, where the tub may be uneven in leveling.
Follow these steps for tiling:
- Spread the mortar in one small section at a time. The tile’s manufacturer will tell you which size notched trowel to use.
- Push the tile into place. Use tile spacers to ensure the gaps in between the tiles are consistent.
- Wait for the mortar to dry for 24 hours, then remove the spacers.
- Mix a small amount of grout at a time and use a rubber grout float to apply it diagonally onto the wall.
- Wait ten minutes, then use a wet sponge to clear away any excess grout. You can also use a grout remover for this.
- After three days, apply a grout sealant and a silicone sealant to the corners and edges.
Painting Your Walls
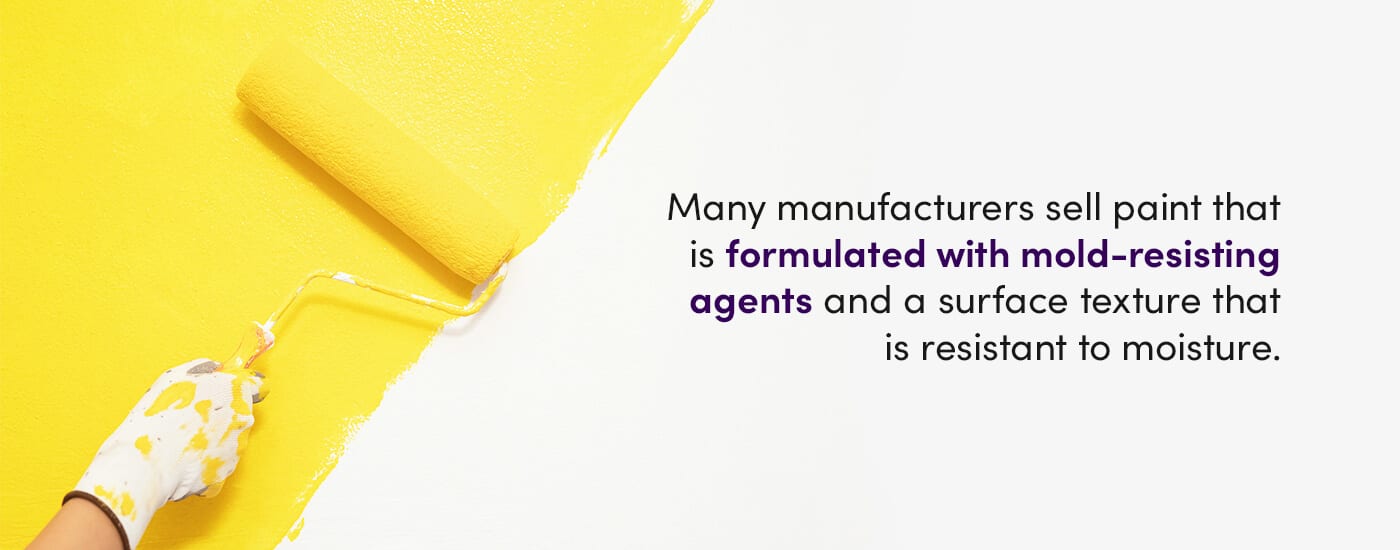
Once you choose a paint color you like, all you need is painter’s tape, brushes, rollers, a paint tray and liner to get the job done. Many manufacturers sell paint that is formulated with mold-resisting agents and a surface texture that is resistant to moisture. It’s crucial to clean your walls before you begin the painting process.
Dust particles left over from the demolition or drywall will affect the appearance of your walls even after your second coat. As always, you should cover the floor and any other surfaces you don’t want to paint in case of spillage.
5. Install Key Items
This is when your DIY skills may be put to the test. These tips can help you navigate the most challenging parts of a remodel like an expert.
Shower Door
Once the tile is firmly set, you can install the shower door. The most critical part of this step is aligning your door with the frame so you have a watertight seal. Take your time to do it right. Make sure you measure the space, as well as the door before attempting to install it. If you are installing a swinging door, it should have enough room to swing open without obstruction. The most popular shower doors are glass, which often have gaps at the bottom. To avoid water seeping through, add a plastic seal strip to the bottom of the door.
Lights and Fan
Replacing your bathroom fan starts with turning off the breaker it’s connected to. Remove the grill cover, motor housing and motor. Then, remove the wiring and pipes. Now it’s time to prepare the new vent for installation. Connect the wires and attach the vent pipe in the same hole the old fan was in. Secure the new unit to the ceiling and place the new cover over the vent.
When replacing your light fixtures, start by turning off the power source. Then, remove the bulbs and collars around the sockets. Unscrew any screws that are keeping the fixture in place to remove it from the wall. Untwist the tire nuts to disconnect the wires, then unscrew the screws that are holding the mounting bracket. Simply install the new mounting bracket, recap the wires and secure your new fixture onto the ceiling.
Vanity and Sink
Start by positioning your new vanity in the appropriate place. Check that the vanity is level, then drill pilot holes into the closest studs. Now attach the vanity to the wall with screws. Then, secure the vanity top to the cabinet with a thin line of caulk. Apply another bead of caulk along the edge of the vanity where the backsplash and wall meet.
All you have to do now is install your new faucet according to the instructions on the packaging. Make sure you put plumbers putty under the sink drain ring and attach the P-trap to the new sink drain line. Tighten your faucet connections and turn the water valves back on, then test your new faucet for leaks.
Wood Products
A bathroom isn’t complete without a place to put your towels and toiletries. Adding an entire cabinet unit can take up a lot of space and take away from the aesthetic of your newly renovated bathroom. Use a recessed medicine cabinet or a combination unit for a sleek, modern and minimalistic design. This way, all your toiletries, toilet paper, magazines and trash are all in one place. A recessed toilet paper holder provides a convenient place to store your bath tissue. These unique cabinetry options offer convenience, quality and style.
Toilet
What is a bathroom renovation guide without the room’s essential feature — the toilet. Start by installing new closet bolts into the slots on the flange. Use washers to hold them in place and then tighten down the washers so you can align your toilet into the right place. Place your new bowl upside down and run the wax ring under warm water so that it softens. Then, press it on the toilet outlet. Remove the rag from the drain and lower the bowl over the new bolts.
Take your time lowering the bowl straight down onto the flange to prevent damaging the wax ring. Push the bowl down into place and check that it is centered with the wall. Now, add the cap bases, washers and nuts to the closet bolts with even pressure. Use a hacksaw to cut off the excess bolt before snapping on the caps. The last steps are to prep and secure the tank.
Decorate and Accessorize With WG Wood Products
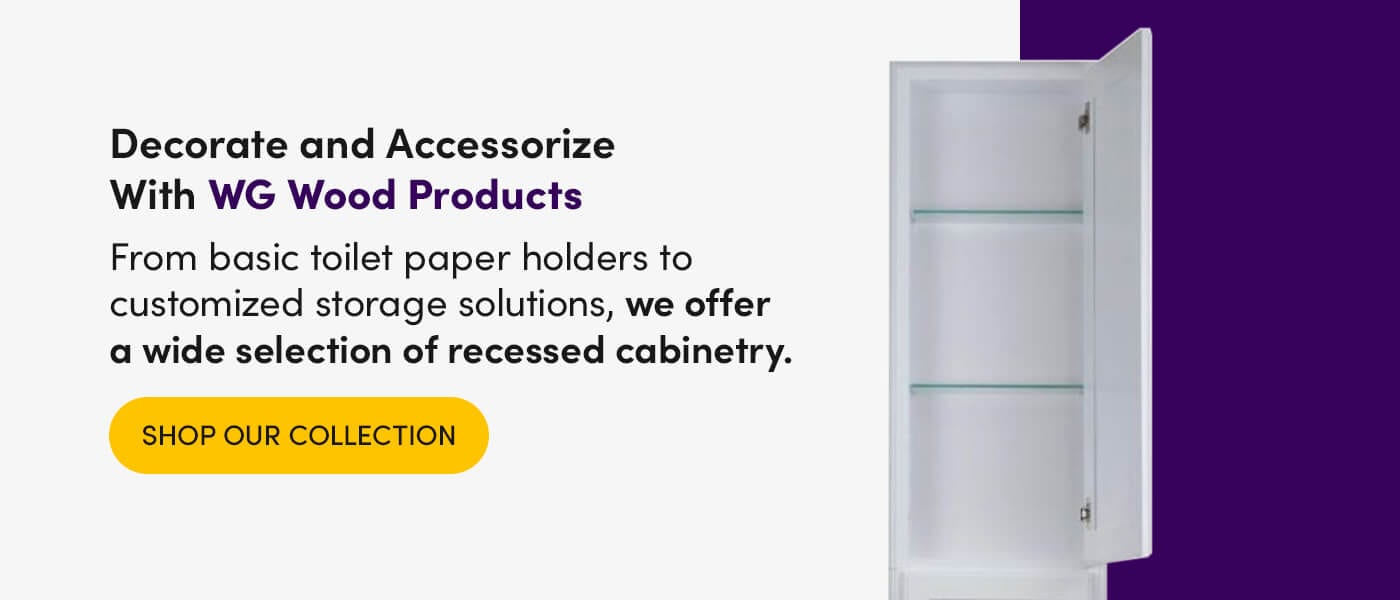
The final steps to remodel a bathroom are the finishing touches. Complete your latest DIY project with personalized accessories and decorations that are unique to you. A customized magazine rack accommodates your guests and offers a luxe detail. Recessed cabinetry offers maximized storage with modern sophistication. From basic toilet paper holders to customized storage solutions, we offer a wide selection of recessed cabinetry.
If you can’t find the right solution for your bathroom, complete our quote request form and we’ll build you a one-of-a-kind custom unit. We only use solid wood and make all our products right here in the United States.
Is the kitchen your next DIY project? Shop our collection of wood cabinetry and shelving solutions. Our experts are always ready to provide exceptional customer service. Send us a message online and we’ll give you our expert advice.

