Have you ever been a guest at someone’s home and noticed they have shelves that seem to be hovering against the wall without any visible support? Then it’s likely you’ve seen floating wall shelves. These shelves are timeless and perfect for people who love the look of shelves but not the clunky hardware that sometimes supports them. If you want to achieve this stylish minimalism, you might be relieved to know that installing hanging shelves is fairly simple with the appropriate tools and adequate planning.
What Are Floating Wall Shelves?
Before we get into the know-how of it all, let’s define floating wall shelves and explain how they work. Floating wall shelves are attached to a wall without any visible means of support. They look like a plank that juts out at a 90-degree angle from the wall, seemingly on its own. Though they appear to be floating, these shelves are actually supported on hidden bars attached to studs. The shelves have holes drilled into the wall-touching side, and the hidden bars or rods slide into these holes to act as support.
Benefits of Floating Wall Shelves
Floating wall shelves offer many practical and aesthetic benefits, such as:
- Requiring less floor space: Many alternative storage solutions — like bookshelves, drawer units and standing cabinets — are suitable for organization purposes, but they take up valuable floor space. If you want to make the most of limited square footage, floating wall shelves can help you get organized without sacrificing floor space.
- Creating a modern and classy atmosphere: If minimalist, sleek and modern is your ideal aesthetic, you should look into floating shelves. Floating wall shelves come in various styles, designs, materials and colors to match your specific design preferences.
- Decreasing clutter: Like other storage units, floating wall shelves can help you reduce clutter around your home to keep you more organized. You might make your hanging shelves a place for keys, shoes, cookware, craft supplies or spices.
- Offering versatility: You can hang floating wall shelves in any room in your home, including your kitchen, laundry room, bedroom, living and dining spaces or bathrooms. You can also add multiple shelves on top of each other to create the illusion of a bookshelf, hang two shelves on each side of a corner or place multiple shelves one after the other to create one long shelf.
- Easy installation: When you have a plan, installing floating shelves is quick and easy.
How to Install Floating Shelves
Before hanging your floating shelves, make sure you have the following materials:
- Stud finder
- Pencil
- Anchors, if applicable
- Screws
- Screwdriver or drill
- Level
- Tape measure, if applicable
- Brackets
- Shelf casing
When you have your tools ready, follow these steps to install floating shelves:
1. Find the Studs
Your first step is to decide where approximately you want your floating shelves. The best location will allow at least one or two screws to be secured to a stud. If there are no studs where you want to hang your shelf, you will have to use anchors to secure the shelf to the wall.
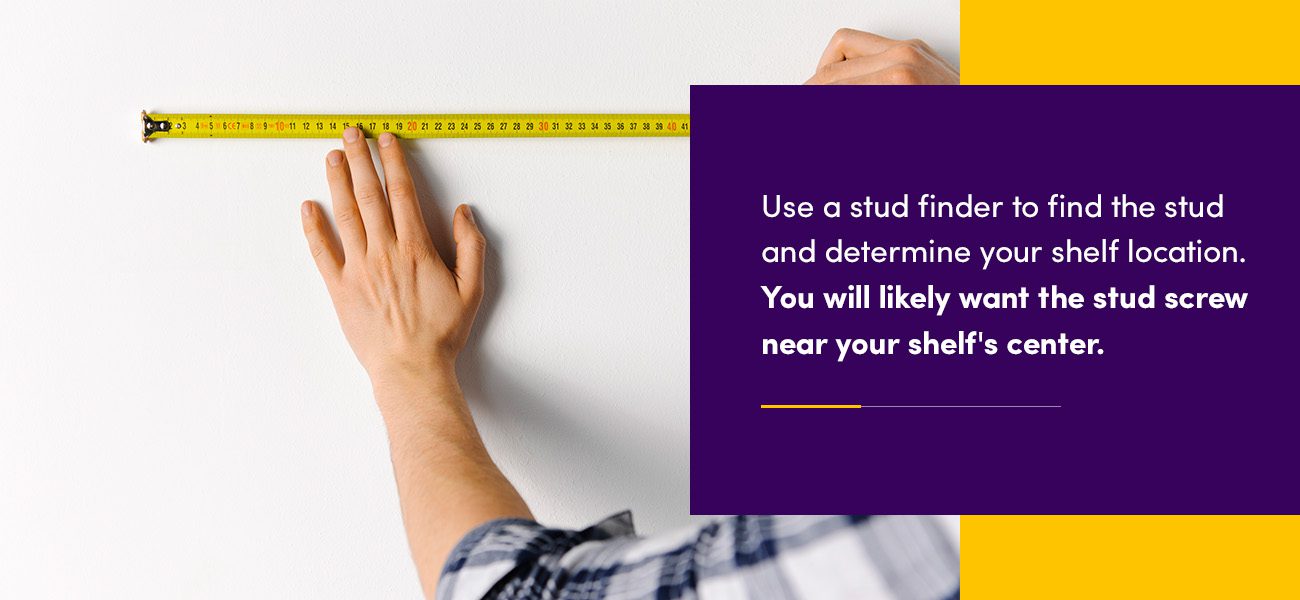
Use a stud finder to find the stud and determine your shelf location. You will likely want the stud screw near your shelf’s center. Use a pencil to mark your shelf placement, and use the mark as a guide for the remaining steps.
2. Attach the Bracket
Once you decide where to put your shelf, you’ll attach your bracket. Use a screwdriver or a drill to attach the bracket to the wall. Once it’s in place, check that it’s level. If your bracket is not level, make any necessary adjustments before adding the final screws.
3. Determine Placement for Multiple Shelves
If you’re only installing one shelf, you can skip steps 3 and 4. If you want to add more shelves, here’s how:
You may want to install shelves above, below, next to or near your initial shelf. If so, grab your tape measure. Measure and mark where you’ll want these additional shelves based on the placement of your first bracket. The amount of space you leave between shelves depends on what you’ll be storing. Repeat step 1 for any additional shelves you want to install.
4. Install Other Brackets
Repeat step 2 to install the rest of the brackets. Again, make sure they’re all level before securing them tightly.
5. Add Shelf Casing and Secure
Once your brackets are in place, slide the casing onto the bracket by inserting the rods or bars into the holes on the back of the casing. Then, secure the casing in place. The last step is to use your drill or screwdriver to tighten the screws on the bottom of the shelf to secure the casing to the brackets.
6. Decorate
Once your shelves are securely attached to the wall, it’s time to get creative with decorating your new shelves. You can design your shelves however you like — just ensure you know the maximum weight they can hold. Here are some ideas for using your floating shelves:
- Books in your bedroom or living room: A classic choice is filling your floating shelves with books. You can organize your books by author, genre or how much you enjoyed them, or categorize them based on which you’ve read and which are still on your to-read list.
- Products in your bathroom: We all know the feeling of a cluttered under-the-sink bathroom cabinet. Turn your bathroom into a spa by placing all your products on sleek floating shelves.
- Shoes in your closet: If you’re looking for a new way to organize and display your shoes in your closet, floating shelves are a great option. They’ll make it easy to find the shoes you want while leaving space for your clothes and other accessories.
- Cookware in your kitchen: You may use kitchen wall space by hanging floating shelves above your sink for easy access to mixing bowls, pans, pots, plates, mugs or glasses. Organize by product type to ensure your kitchen is ready to help you make any dish.
Read More How-To Guides From WG Wood Products
Once you’ve successfully installed floating shelves yourself, you might be looking for more projects to organize your home and give you that same sense of accomplishment. At WG Wood Products, we have many how-to guides to help you improve your home and reach your organizational goals. Browse our blog for ideas, and then shop our selection of custom wood products when you’re ready to start a new home improvement project!


